Authentication
The CompactifAI API uses API keys for authentication. This guide will walk you through the process of obtaining and using your API key.
How to Get Started
Section titled “How to Get Started”There are two ways to get started with the CompactifAI API:
Sign up directly through the CompactifAI Dashboard — no AWS account required.
1. Create an account
Section titled “1. Create an account”Go to dashboard.compactif.ai and sign up with your email address.
2. Add billing information
Section titled “2. Add billing information”Go to the Manage API Keys tab in the Dashboard and follow the guided steps:
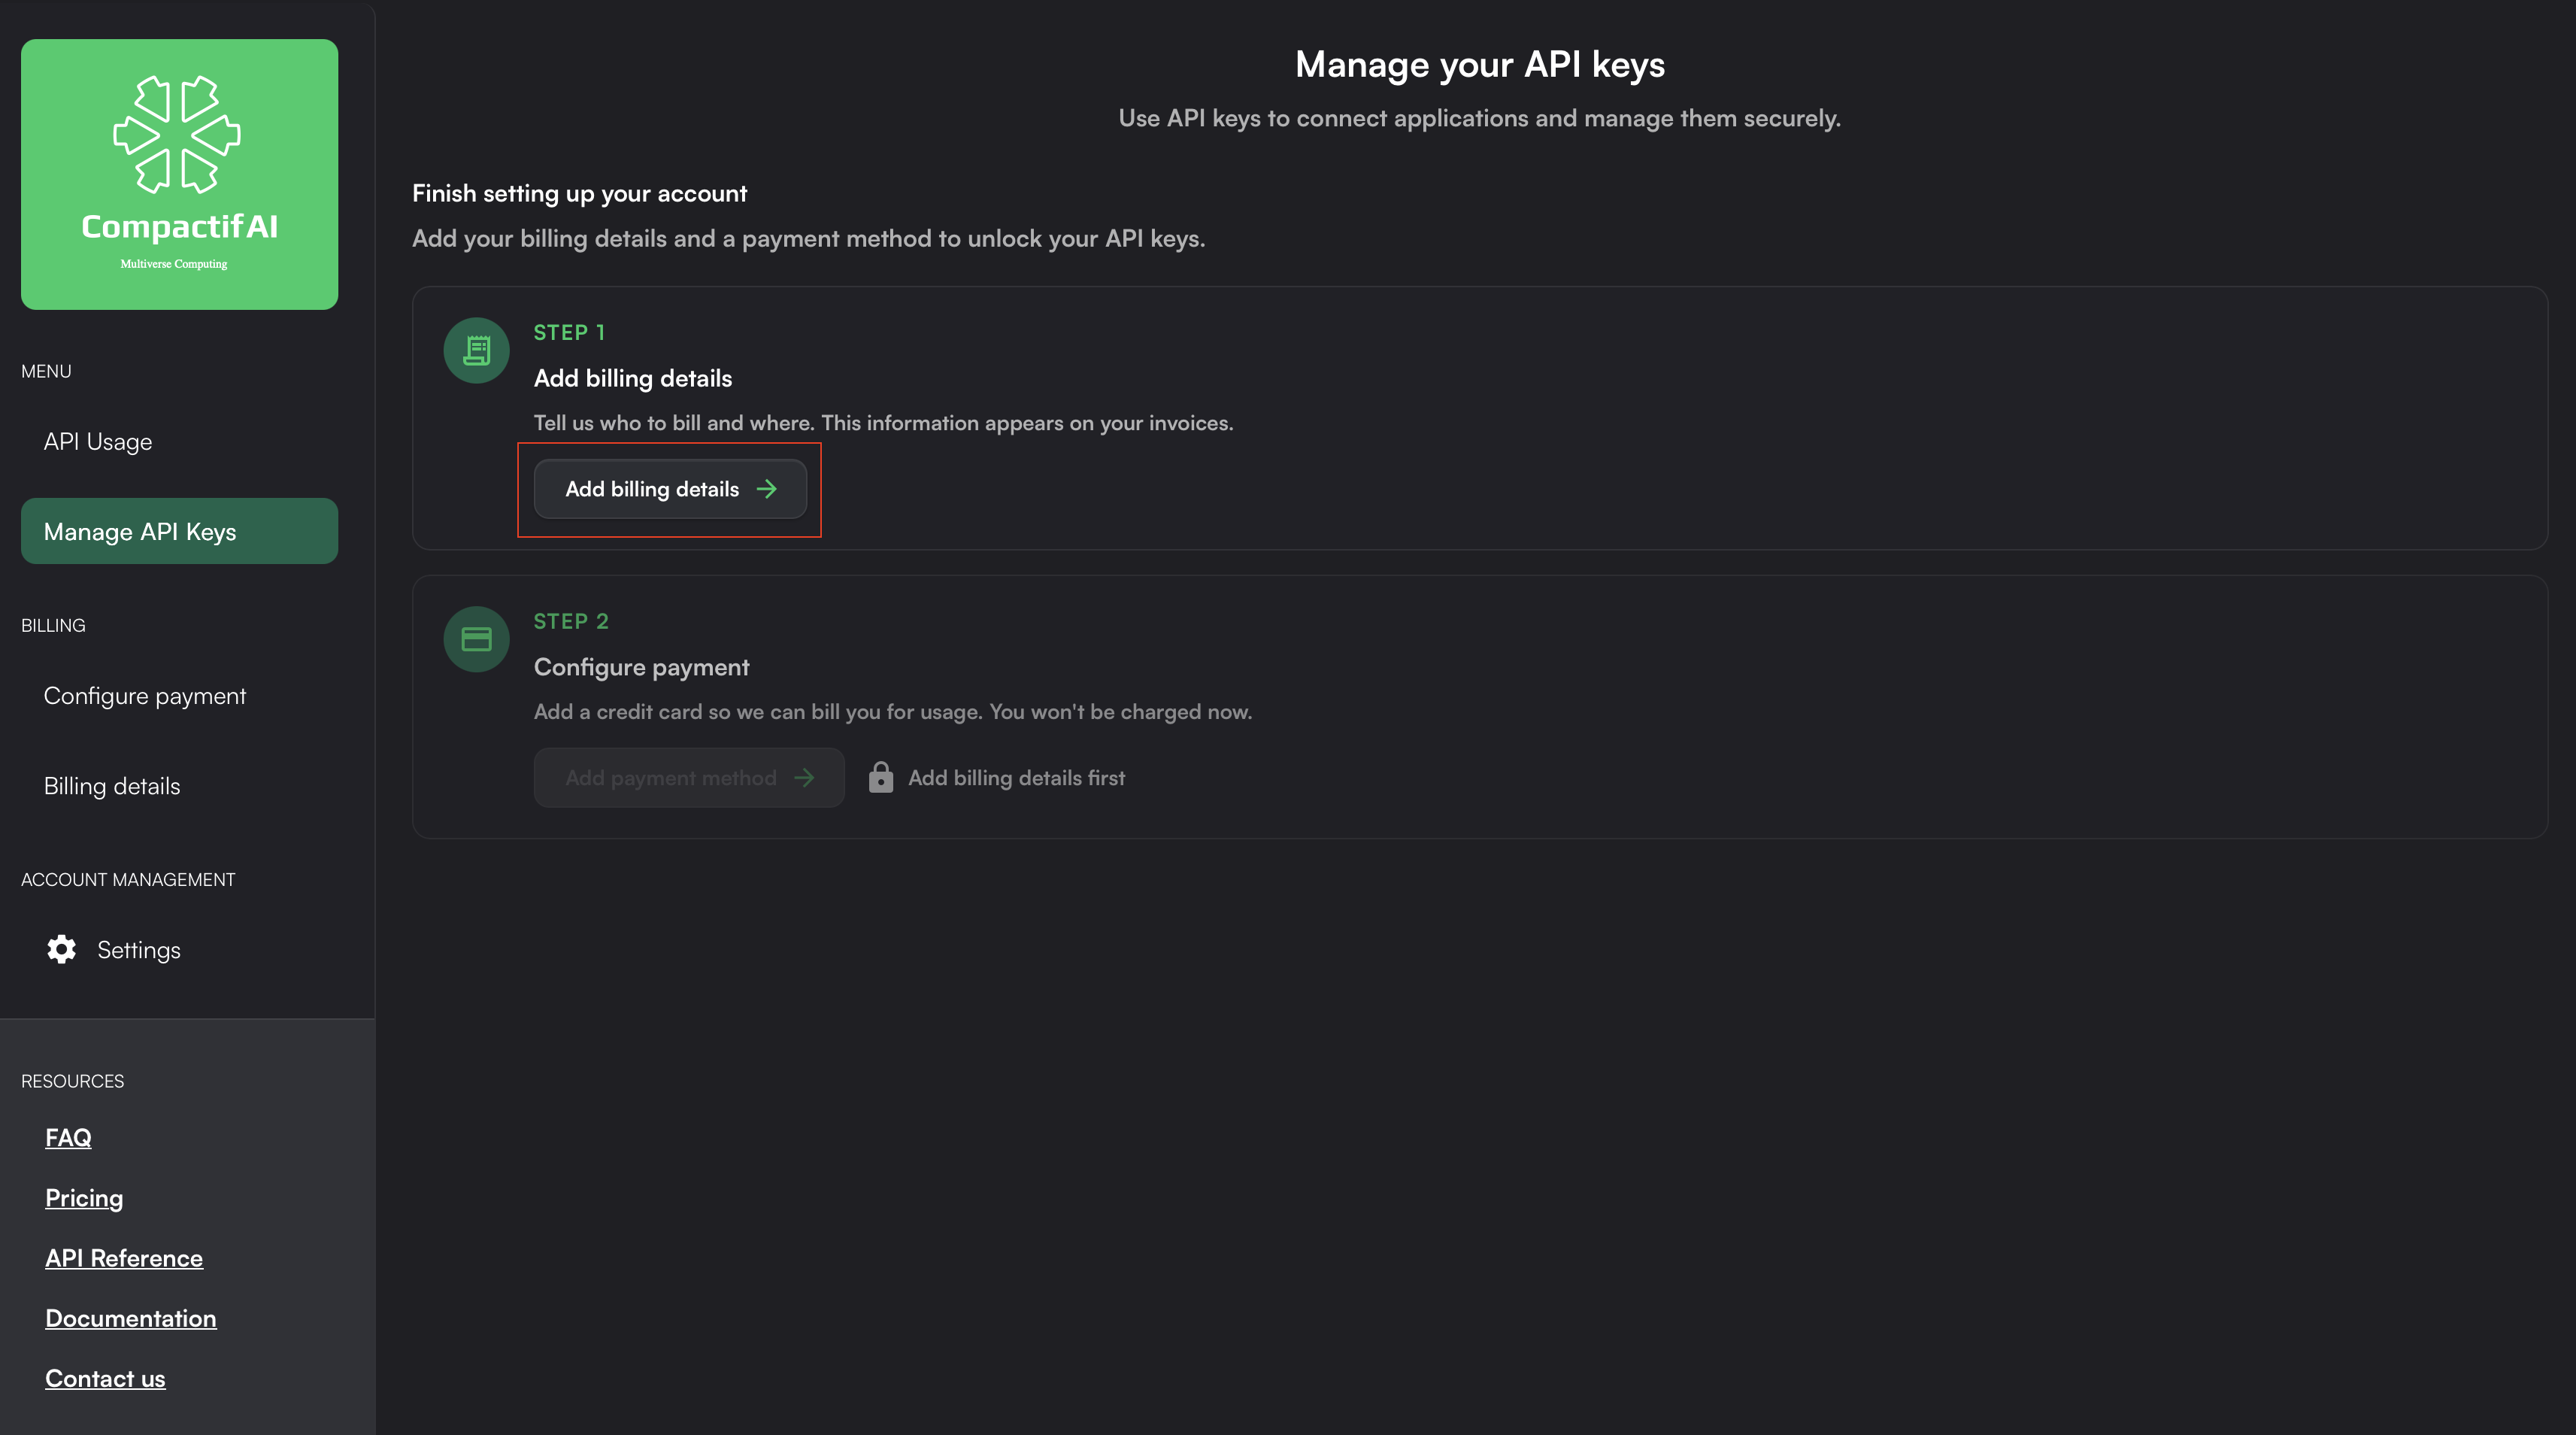
- Add billing details — Click Add Billing Details. You’ll be taken to the Billing Details tab. Fill in your name, email, phone number, country, and other required fields.
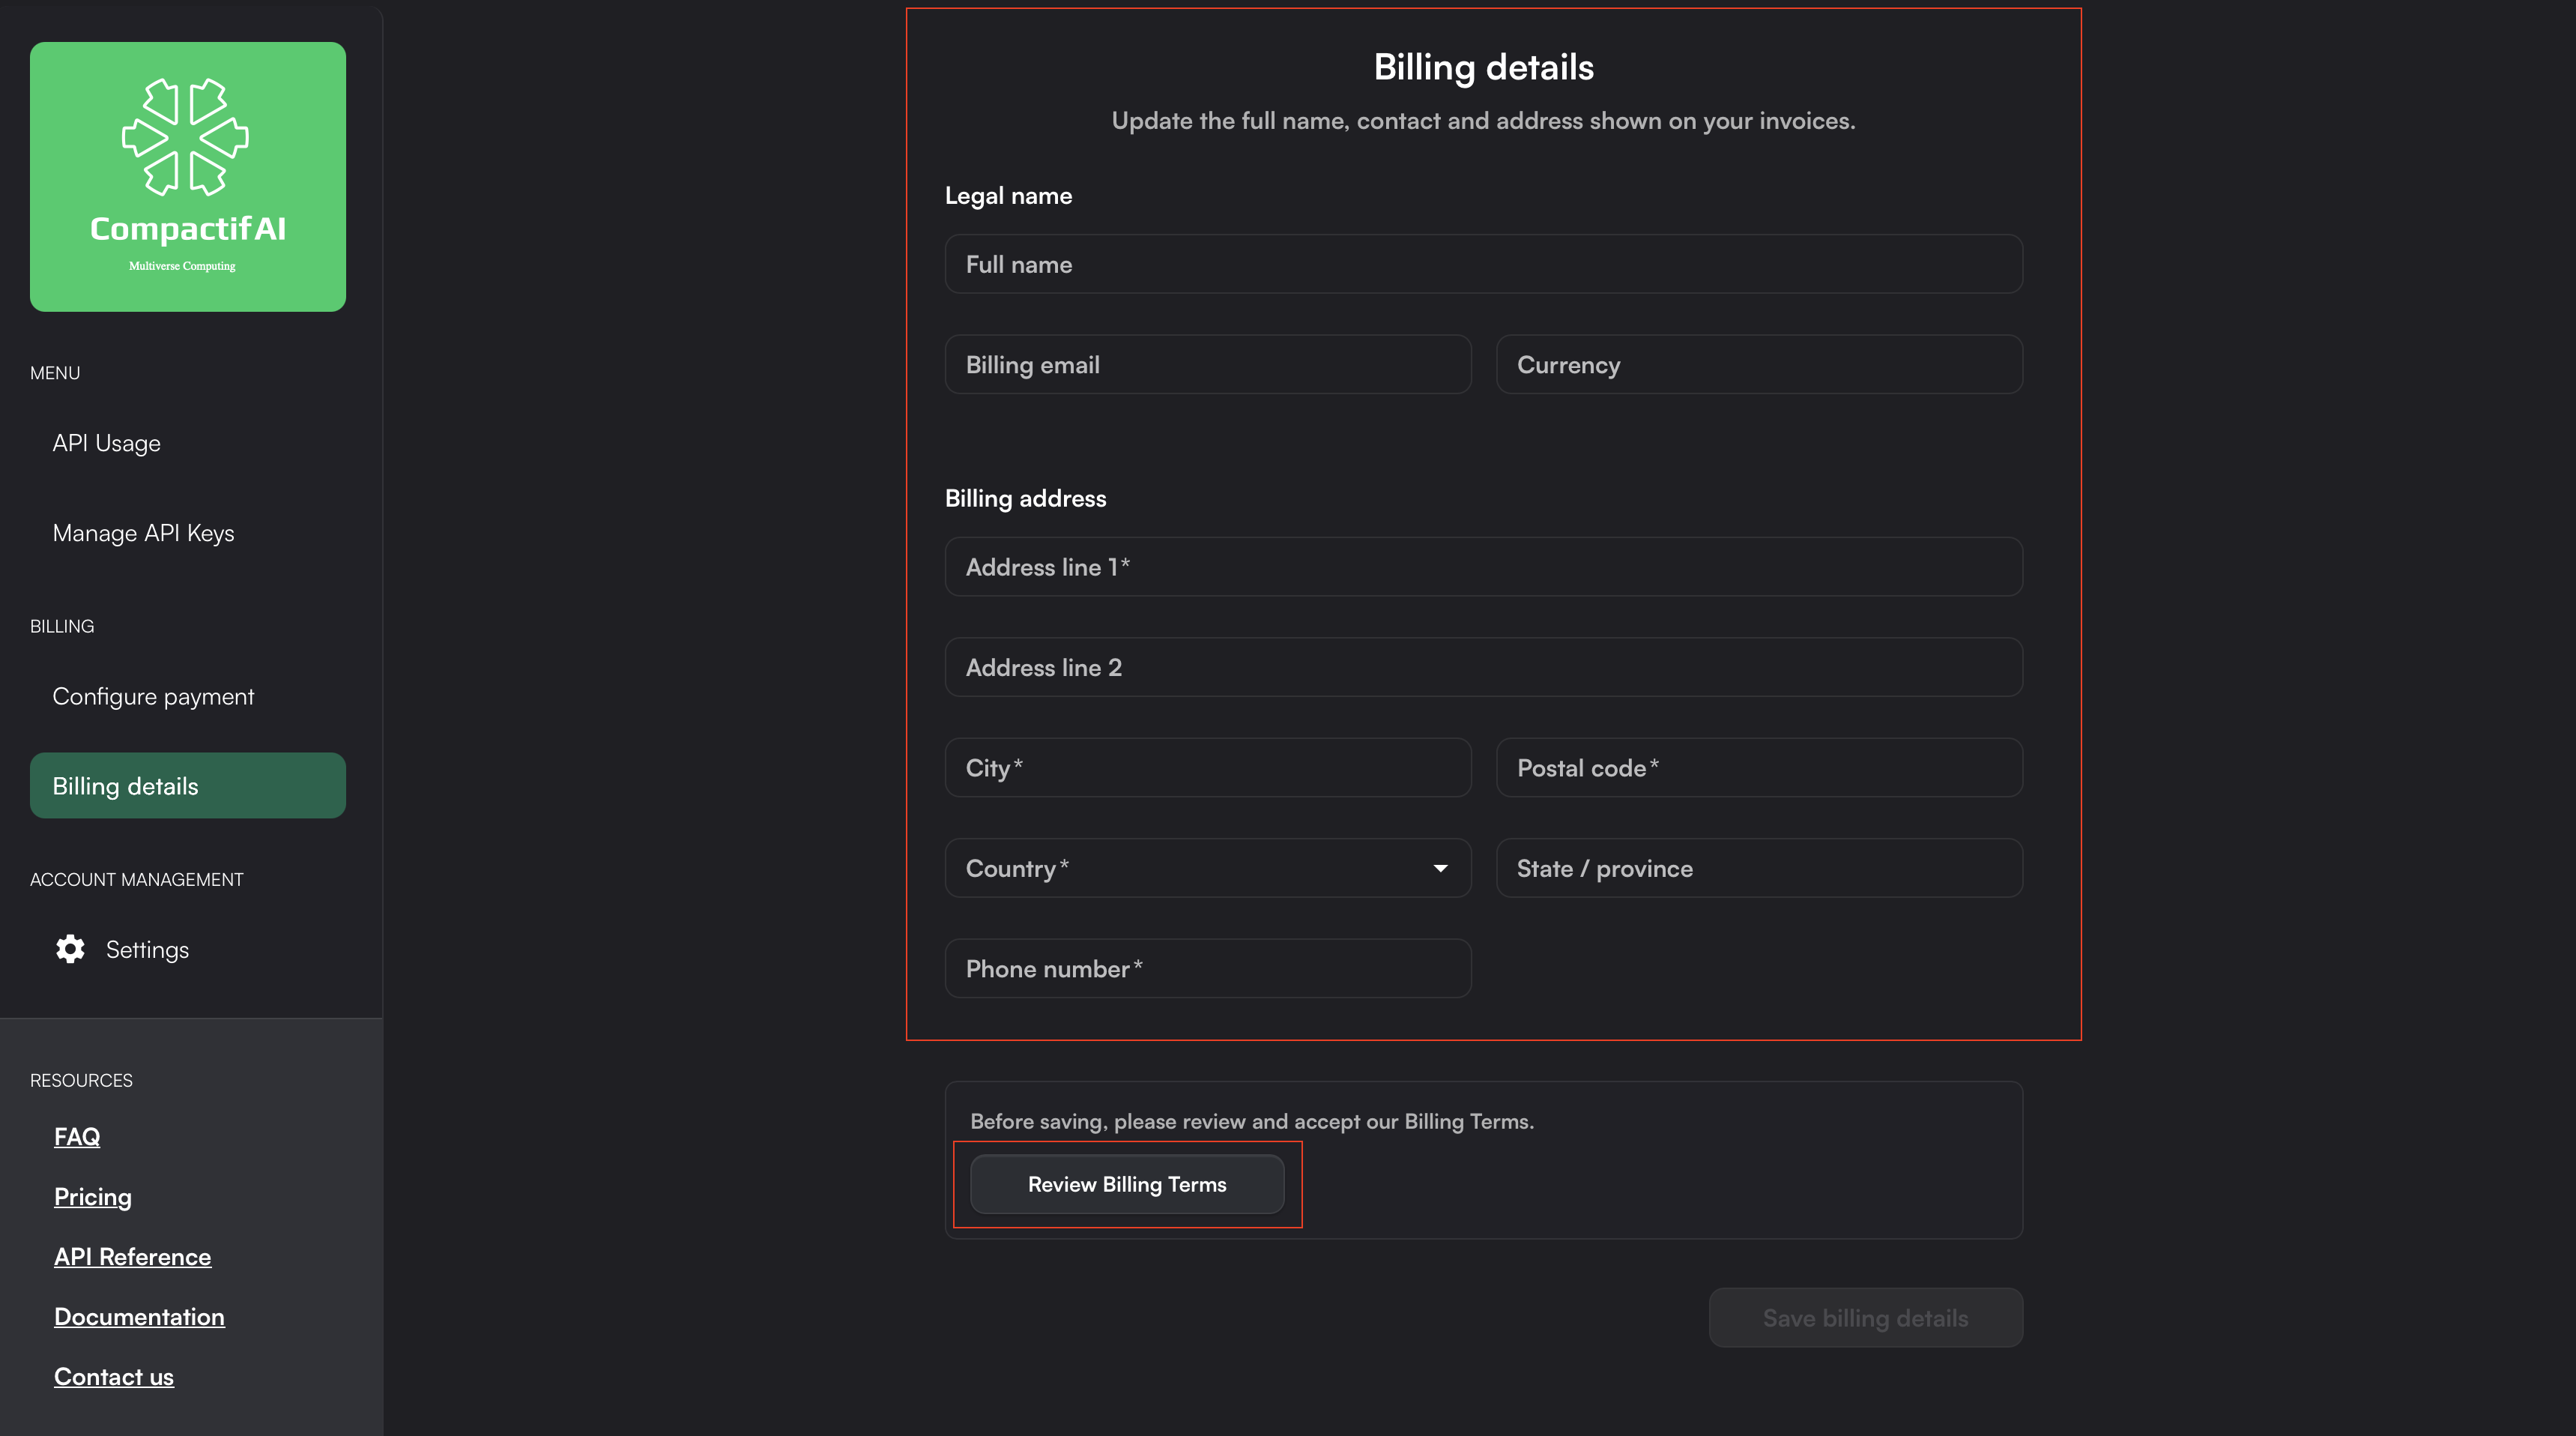
- Accept billing terms — Click Review Billing Terms and accept them.
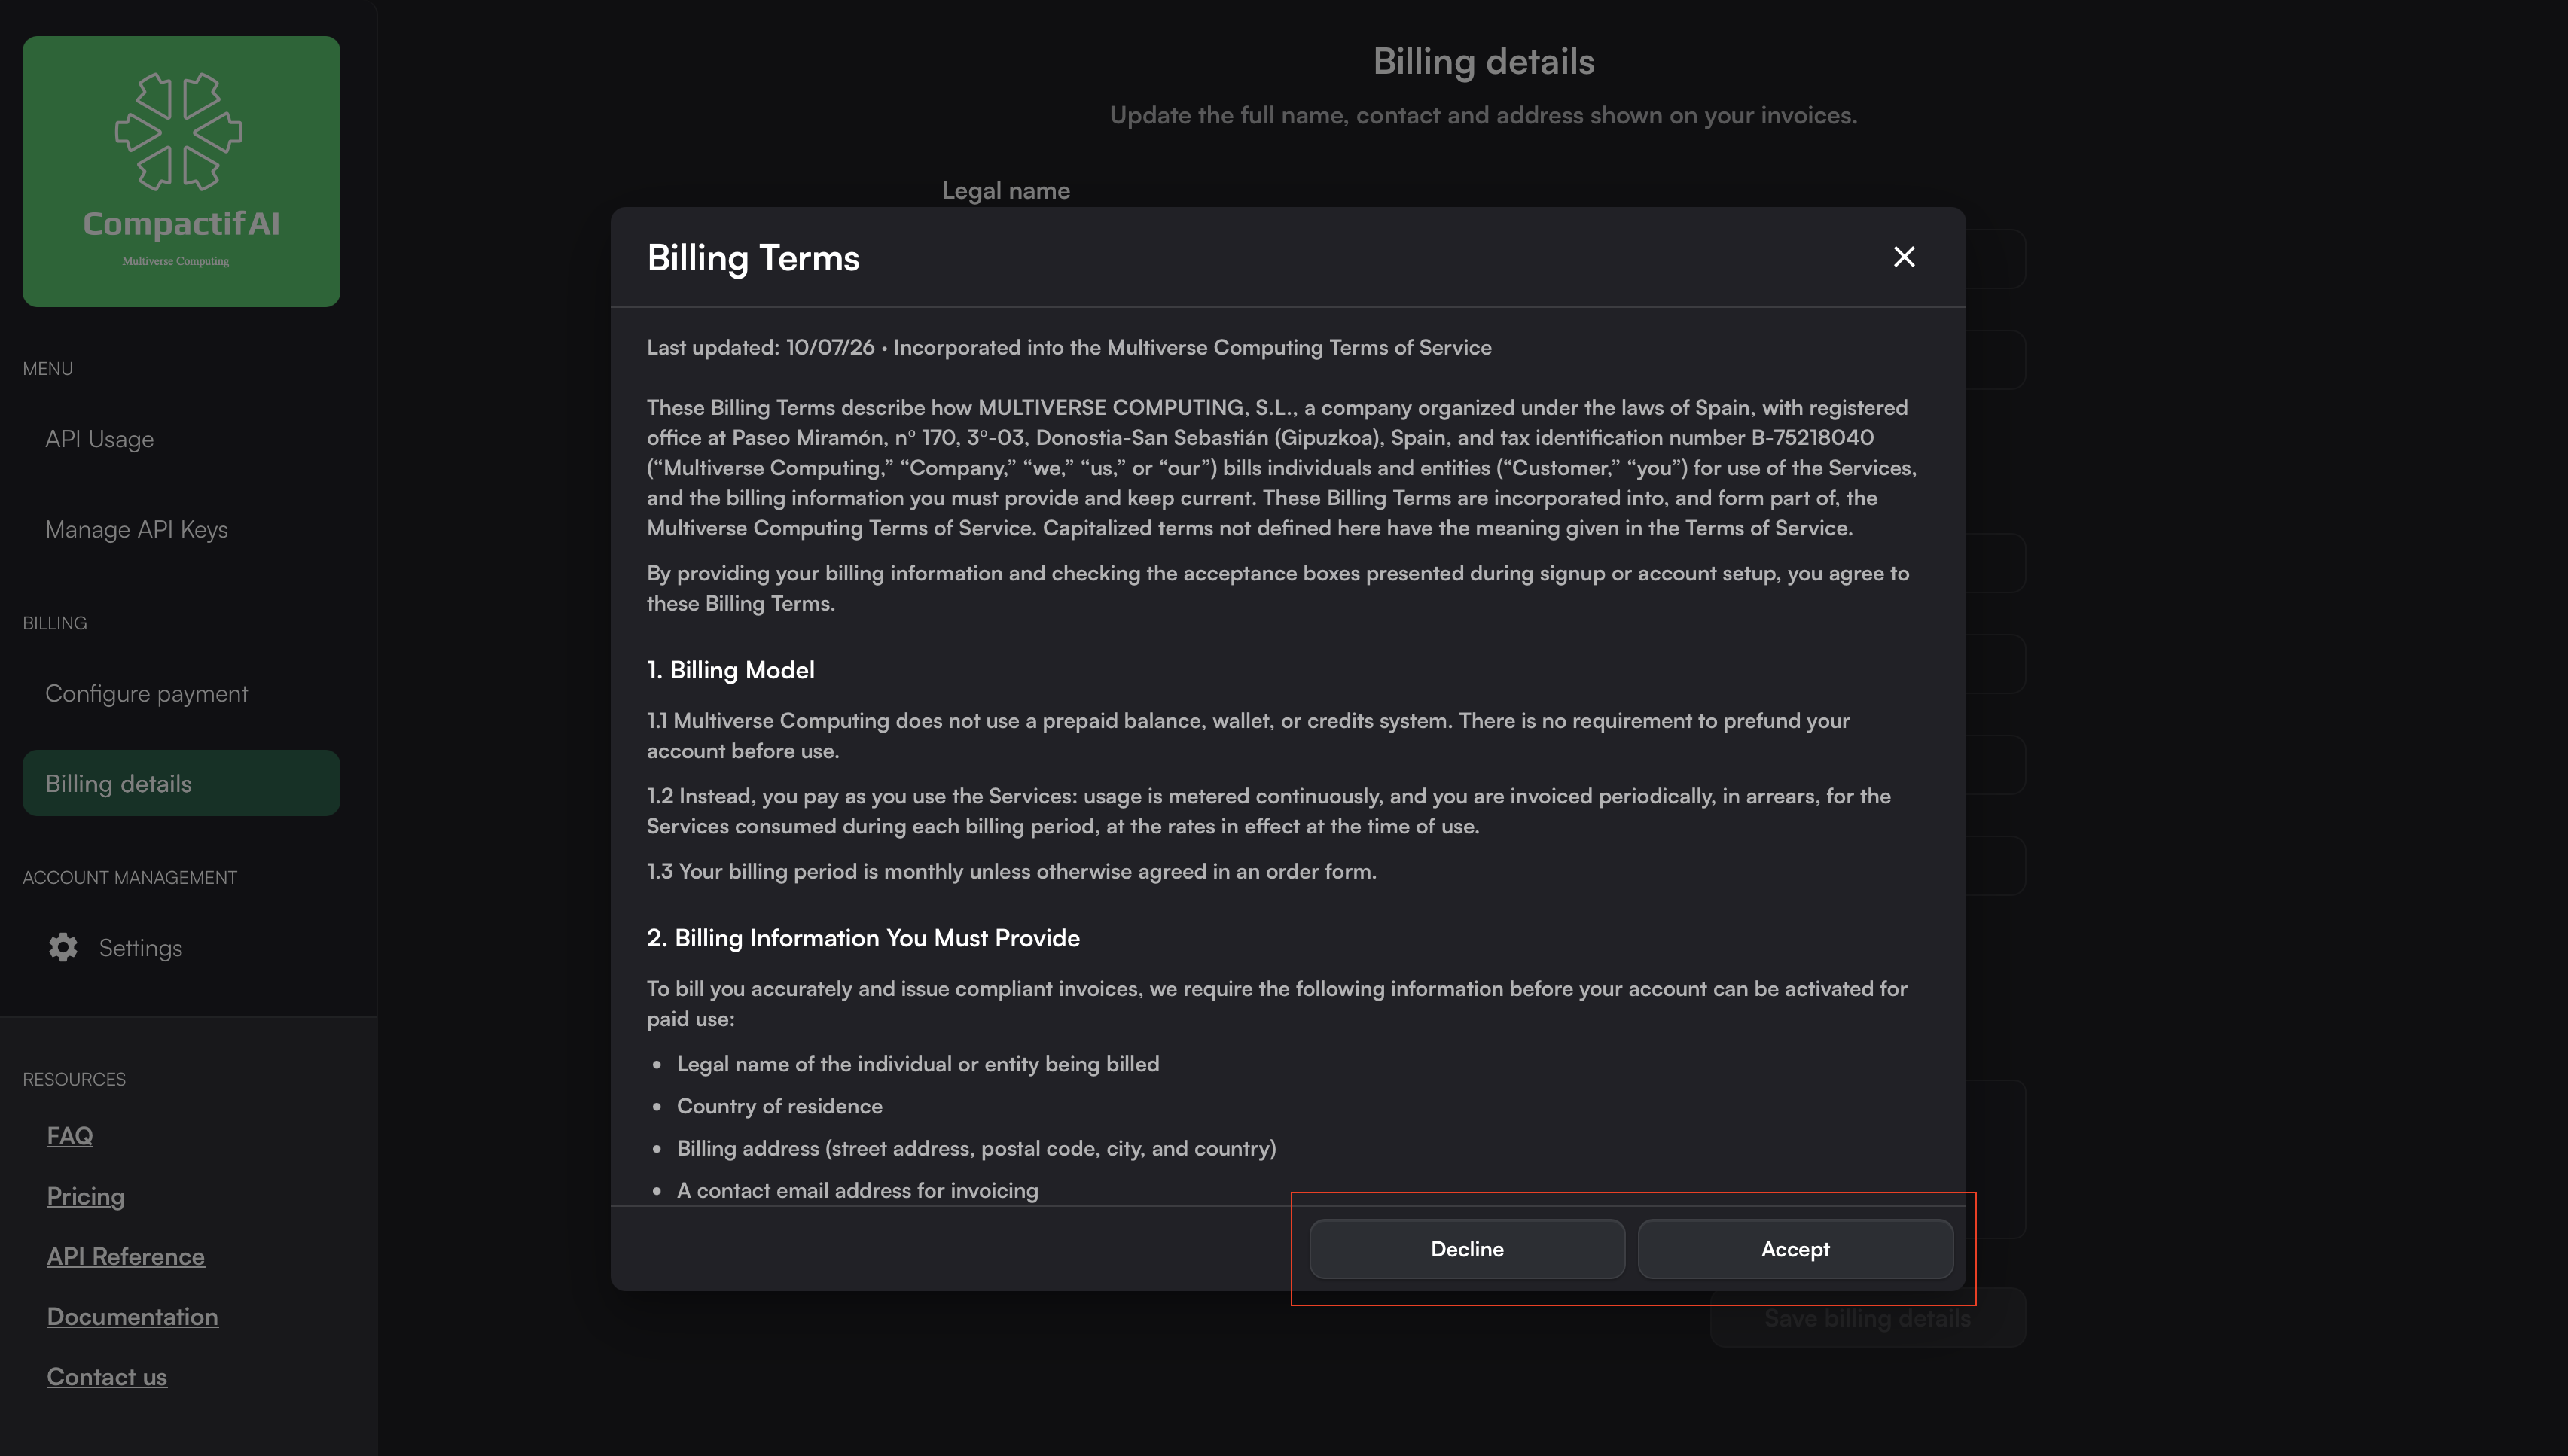
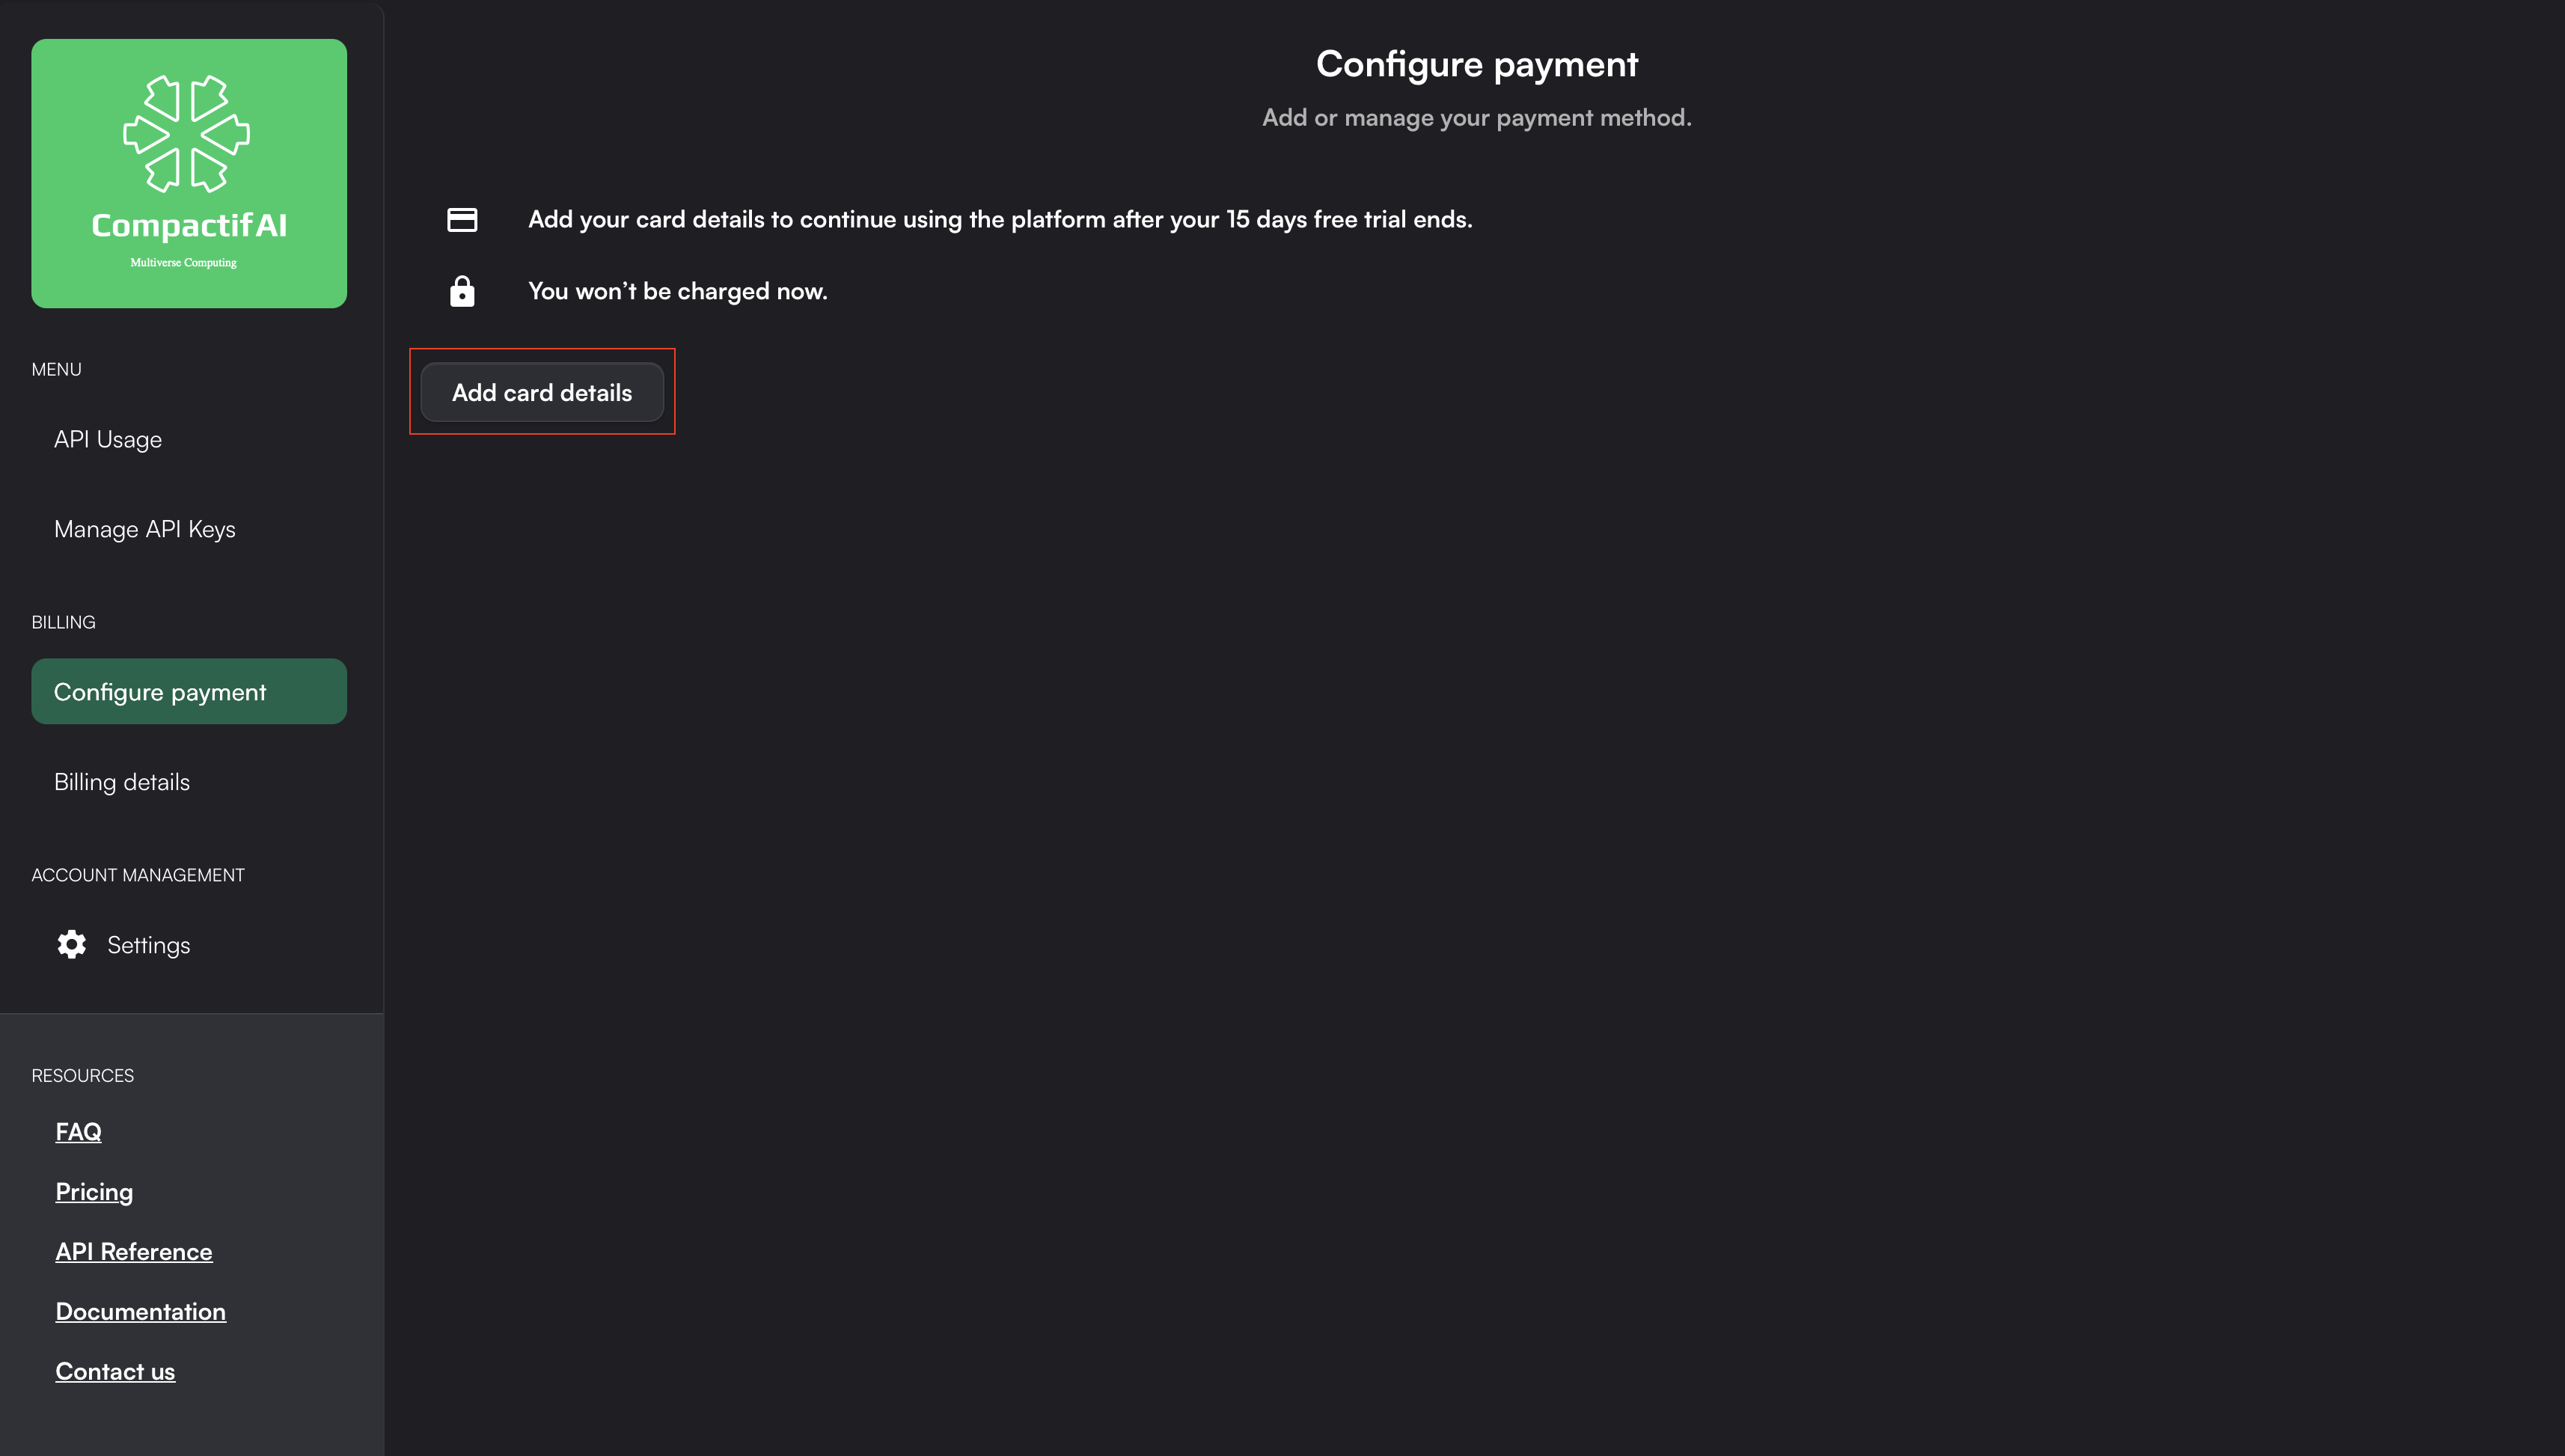
- Add a payment method — Go back to Manage API Keys and click Add Payment Method (or go directly to the Configure Payment tab). Enter your card details and save.
- Get your API key — Go back to the Manage API Keys tab. Your API key will be available there.
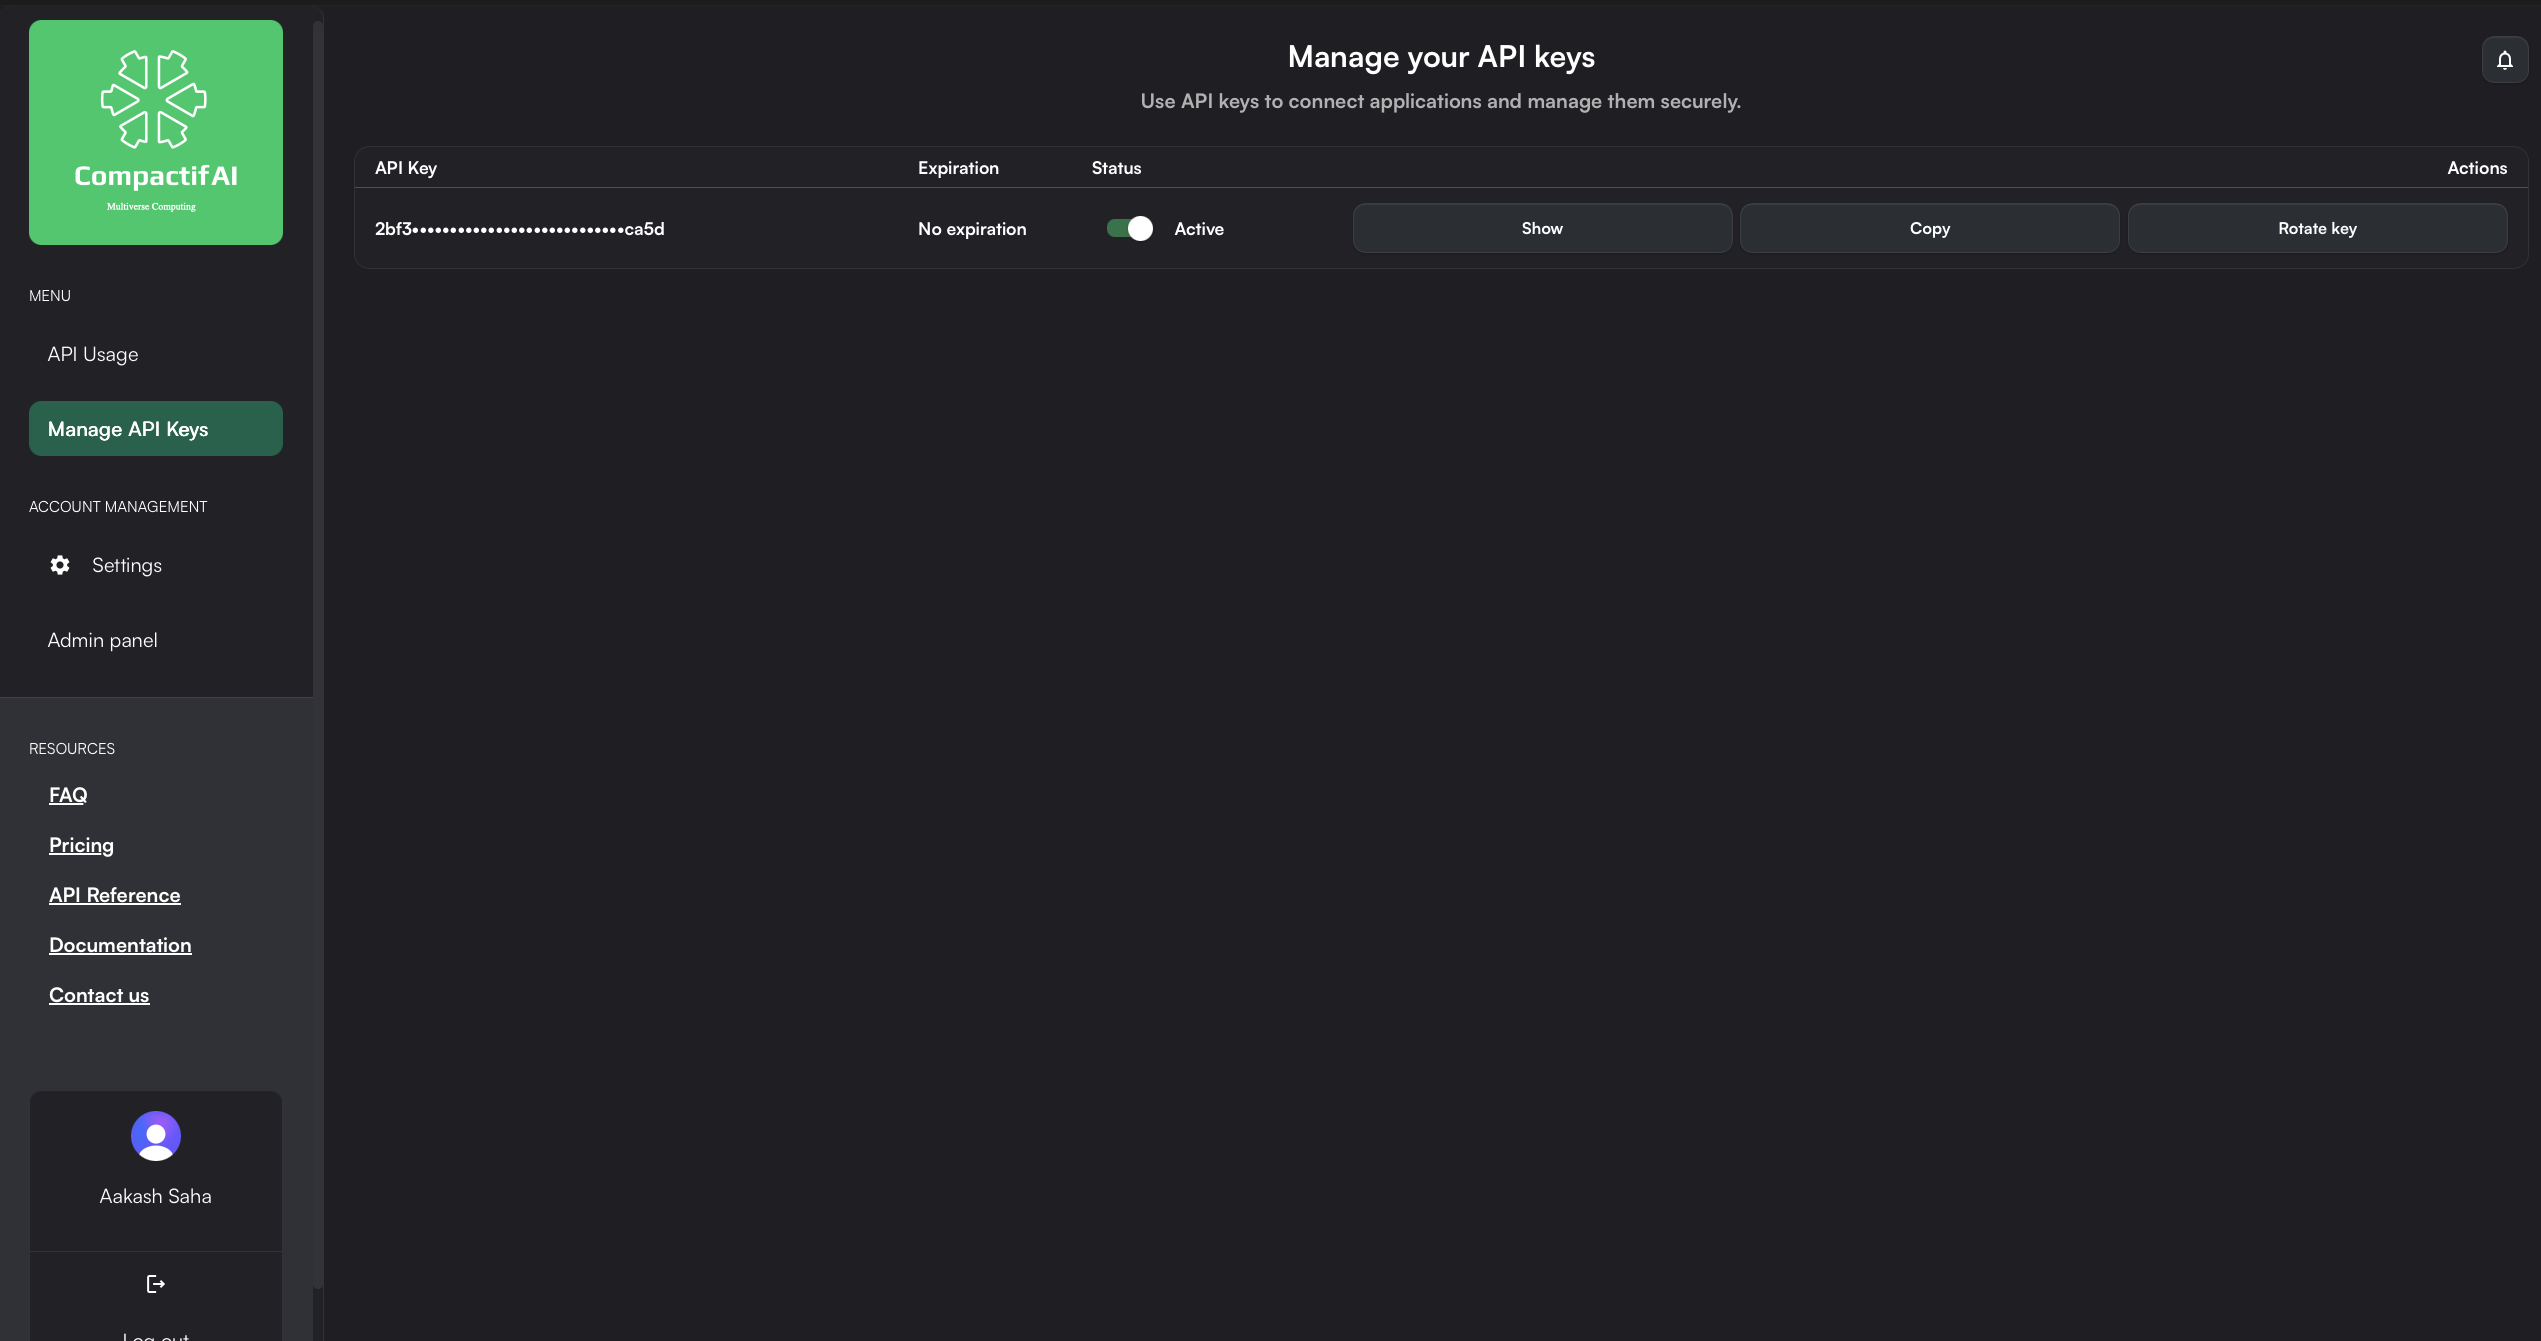
3. Get your API key
Section titled “3. Get your API key”Once billing is set up, your API key is available immediately from the Dashboard. You can copy it, and rotate it at any time.
Subscribe through the AWS Marketplace and receive your API key via MultiverseIAM.
1. Subscribe via AWS Marketplace
Section titled “1. Subscribe via AWS Marketplace”- Go to our AWS Marketplace listing.
- Review the product details, pricing information, and terms of service.
- To begin the subscription process:
- Click “View purchase options” to explore available plans.
- Choose your preferred subscription plan (at the moment, we only offer a pay-as-you-go plan).
- Click “Subscribe” at the bottom of the page.
- Proceed to “Set up your account” to finalize your registration.
- Complete the registration form with the required details.
- Submit the form and await a confirmation email from our team.
2. Complete Subscription Verification
Section titled “2. Complete Subscription Verification”Once you’ve submitted your subscription:
- Our team will review your application, typically within 24 hours.
- Upon approval, you’ll receive a welcome email confirming access. Your subscription email address is your registered login for the platform.
3. Access the CompactifAI Dashboard
Section titled “3. Access the CompactifAI Dashboard”Go to the CompactifAI Dashboard and sign in with your registered email address. You’ll be redirected to Multiverse IAM to complete sign-in with a one-time passcode (OTP) sent to that email.
Furthermore, from the Dashboard, you can:
- Monitor your API usage and token consumption.
- Manage your account settings.
Account Policy
Section titled “Account Policy”- Each subscription must be connected to a single email address.
- The Dashboard issues one API token per account; rotate it from the dashboard when needed instead of creating additional tokens.
- To grant access to additional teammates, invite them to sign up with their own account or contact support to discuss alternatives.
Usage Example
Section titled “Usage Example”You must include your API key in the Authorization header of each API request using the Bearer token scheme:
Authorization: Bearer YOUR_API_KEYExample Request
Section titled “Example Request”curl https://api.compactif.ai/v1/chat/completions \-H "Content-Type: application/json" \-H "Authorization: Bearer YOUR_API_KEY" \-d '{ "model": "carina-60b", "messages": [ {"role": "user", "content": "Hello!"} ]}'import requests
api_key = "YOUR_API_KEY"url = "https://api.compactif.ai/v1/chat/completions"
headers = { "Content-Type": "application/json", "Authorization": f"Bearer {api_key}"}
# API request payloaddata = { "model": "carina-60b", "messages": [ {"role": "user", "content": "Hello!"} ]}
response = requests.post(url, headers=headers, json=data)print(response.json())async function callCompactifAI() {const response = await fetch('https://api.compactif.ai/v1/chat/completions', { method: 'POST', headers: { 'Content-Type': 'application/json', 'Authorization': 'Bearer YOUR_API_KEY' }, body: JSON.stringify({ model: 'carina-60b', messages: [ {role: 'user', content: 'Hello!'} ] })});
const data = await response.json();console.log(data);}
callCompactifAI();